In this article, we will walk through how to integrate SpreadsheetWeb API into Bubble.io to embed complex spreadsheet calculations. This guide will take you through setting up the API in Bubble.io, configuring a POST request to send user inputs, and rendering the resulting outputs on your application’s user interface.
The following example is the structure of the API call we will be using:
{
    "workspaceId": "ec1409ff-0729-4ed2-940a-2ff6b08f1c31",
    "applicationId": "0451885c-d378-48c6-b5b6-46d9fa775ed6",
    "inputs": {
        "Input1": "<Input1>",
        "Input2": "<Input2>",
        "Table1": "<Table1>"
    },
    "outputs": ["Output1", "Output2", "Table2"]
}
This guide covers:
- Installing and configuring the API Connector in Bubble.io
- Making a POST request to SpreadsheetWeb API with dynamic input values
- Displaying the API results dynamically on Bubble.io’s front end
- Advanced error handling and tips to improve user experience
Prerequisites and Tools Required
To complete the integration, you will need:
- A Bubble.io account
- SpreadsheetWeb API credentials (including Token, Workspace ID, and Application ID)
- Familiarity with Bubble.io's API Connector plugin
Before we start, make sure you have set up a new project in Bubble.io and acquired the necessary API credentials from SpreadsheetWeb.
Convert Your Excel File to an API with SpreadsheetWeb
Before proceeding with the detailed technical steps of integrating SpreadsheetWeb API into Bubble.io, it is essential to introduce the sample Excel file used in this article. This Excel file plays a crucial role, as it contains the inputs and calculation logic that the API will utilize. This sample Excel file includes two single-cell input elements (Input1, Input2) and one tabular input element (Table1). It also contains two single-cell output elements (Output1, Output2) and one tabular output element (Table2). The output elements are equipped with formulas that generate results based on the input cells, similar to a standard Excel calculator.
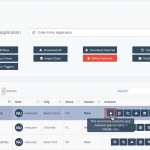
To begin using SpreadsheetWeb API, you need to create a SpreadsheetWeb application by uploading your Excel file to the SpreadsheetWeb Hub. This process exposes the functionality of your spreadsheet as an API that can be accessed programmatically. During the API creation process, you’ll define which inputs and outputs from the Excel file should be exposed through the API.
API Creation Process Overview
Although this article focuses on the integration with Bubble.io, it’s important to mention that creating an API from your SpreadsheetWeb application generates critical details required for configuring your Bubble.io workflows. These details include:
- API Endpoint URL
- Workspace ID
- Application ID
- Authentication settings (if applicable)
These details will later be used to configure the API Connector in Bubble.io. For detailed guidance on creating an API from a SpreadsheetWeb application, refer to our how-to documentation for step-by-step instructions.
Authentication Options for SpreadsheetWeb API
The SpreadsheetWeb API offers different options for securing your API calls through authentication. Here are the available options:
- Token-Based Authentication: This is the most common and secure form of authentication, where you provide a Bearer token in the headers of your API requests to authenticate and authorize the user making the API call.
- No Authentication: For simpler use cases, or when you're in the development phase, you can configure the API without requiring authentication. This is useful when you’re testing the API internally or don’t need strict security controls.
In this article, we will proceed with no authentication for simplicity. This allows for easier setup in Bubble.io without needing to configure authorization headers. However, if your use case requires additional security, you can enable token-based authentication within SpreadsheetWeb. Once authentication is enabled, you will need to configure your API Connector in Bubble.io to include an Authorization header with the Bearer token.
Using no authentication is ideal for getting started and simplifies the configuration process within Bubble.io. However, if you are building a production application, we highly recommend using token-based authentication to ensure your API is protected and secure from unauthorized access.
Step 1: Installing and Configuring the API Connector Plugin in Bubble.io
The first step is to install the API Connector plugin, which will allow us to make API calls from Bubble.io.
- Log into your Bubble.io account and open your project.
- On the left panel, go to the Plugins tab.
- Click Add Plugin in the top right corner and search for the API Connector plugin.
- Install the API Connector plugin, which enables you to make custom API calls within Bubble.io.
Once installed, we'll proceed to configure the API connection.
Step 2: Creating the SpreadsheetWeb API Connection
Now that the API Connector plugin is installed, we need to set up the API connection to SpreadsheetWeb.
- Open the API Connector plugin from the Plugins section.
- Click on Add another API and name it (for example, “SSWeb API”).
- Set Authentication to None or self-handled, as we will handle authentication with an API token.
- Click Add another API Call to create a new API call. Name it something meaningful, like "CalculateSimple".
- Set the Method to POST and input the following URL as the API Endpoint: https://devhub.spreadsheetweb.com/hubapi/calculations/calculatesinglesimple.

Configuring Headers
You will need to add two headers to your API call:
- Content-Type: application/json
- Authorization: Bearer <your-token>
Replace <your-token> with the actual API token you received from SpreadsheetWeb.
Configuring the Body
The body of the API request will contain dynamic inputs that the user provides. Use the following JSON structure for the body:
{
    "workspaceId": "ec1409ff-0729-4ed2-940a-2ff6b08f1c31",
    "applicationId": "0451885c-d378-48c6-b5b6-46d9fa775ed6",
    "inputs": {
        "Input1": "<Input1>",
        "Input2": "<Input2>",
        "Table1": "<Table1>"
    },
    "outputs": ["Output1", "Output2", "Table2"]
}
At this stage, <Input1>, <Input2>, and <Table1> are placeholders for dynamic values, which will be filled with data from the input fields we will create in the next step.

Step 3: Designing the User Interface (UI) to Capture Inputs and Display Outputs
In this step, we will build the UI on Bubble.io to collect input data from users and display the API response.
3.1: Creating Input Fields
In the Design tab, add the following input fields:
- Input1: Add a Text Input element to capture the first input value from the user.
- Input2: Add another Text Input for the second input value.
- Table1: If the user needs to provide a larger dataset (such as JSON), add a Multiline Input field to capture table data.

3.2: Creating Output Display Fields
We also need to create elements to display the results that come back from the API call:
- Output1: Add a Text element where the first output will be displayed.
- Output2: Add another Text element for the second output.
- Table2: If the response includes a table, add a Repeating Group or list to display the table data dynamically.
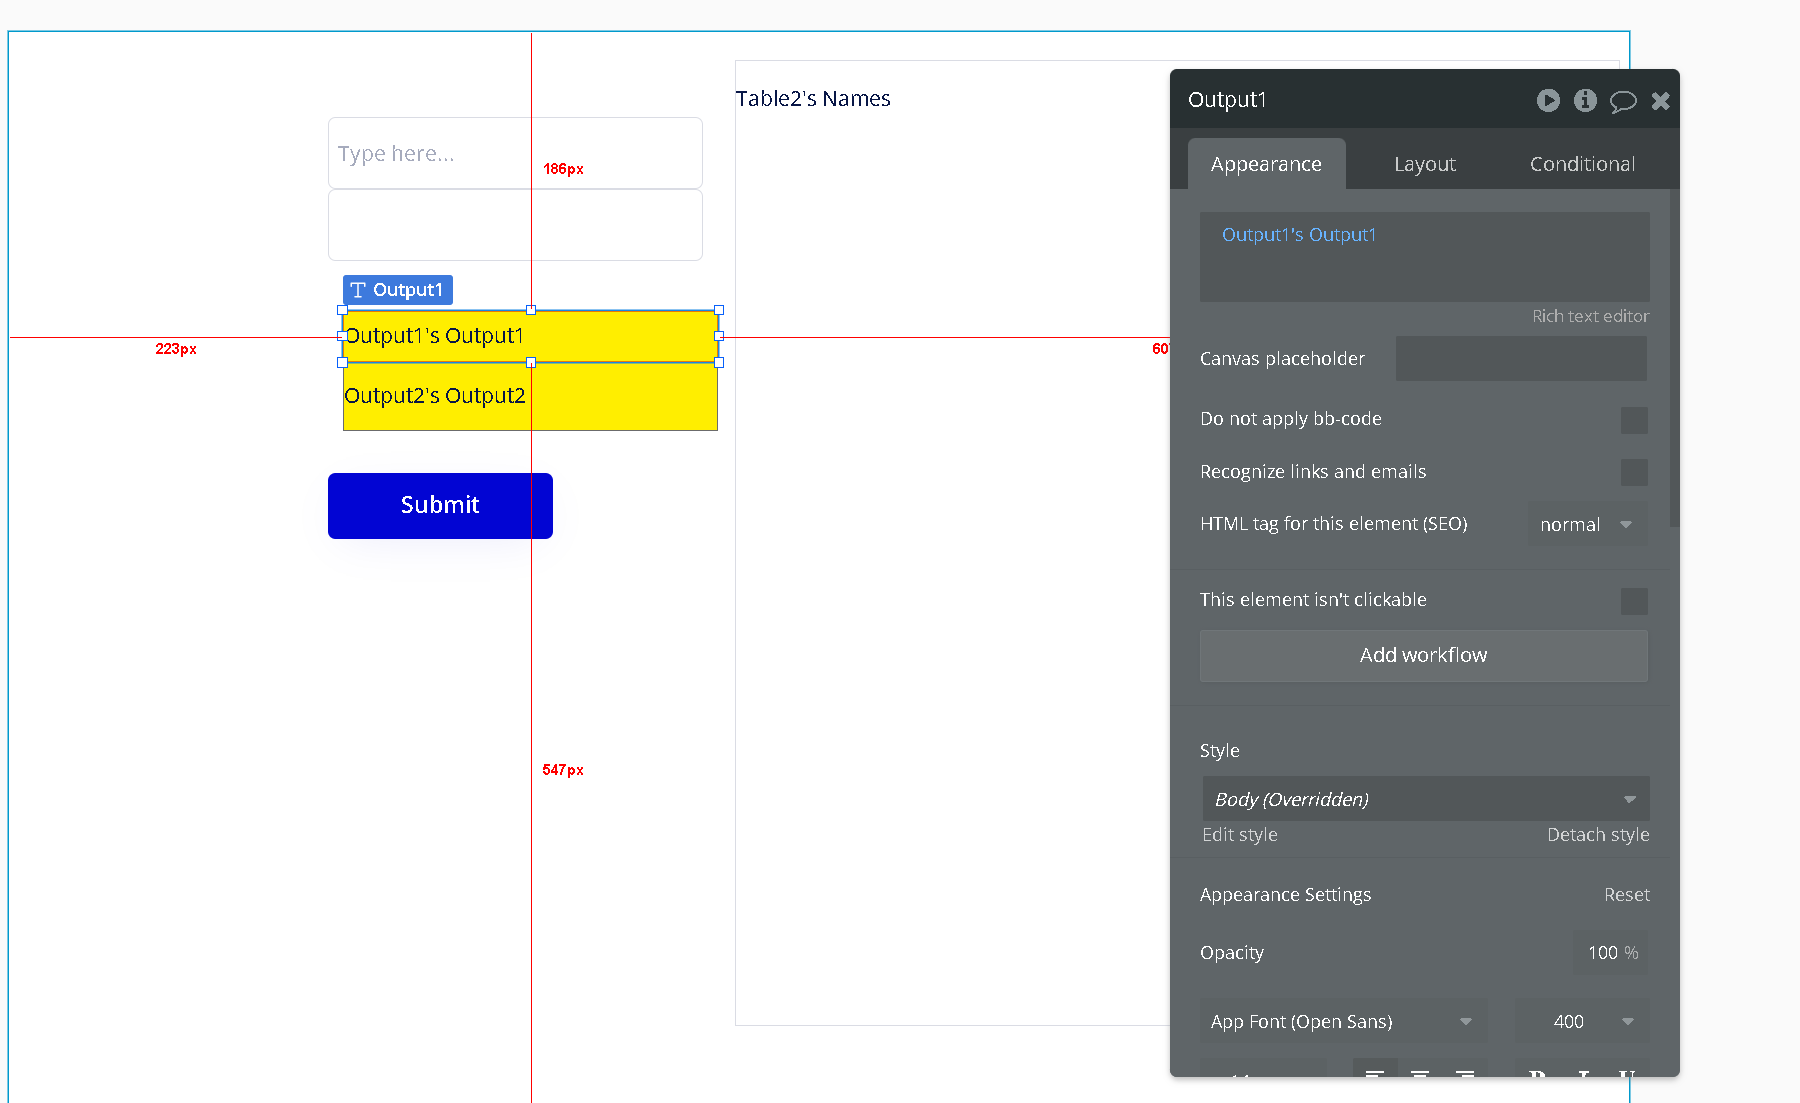

3.3: Adding a Submit Button
Add a Button element to trigger the API call. Label the button Submit or something similar that indicates the action.

Step 4: Configuring the Workflow for API Calls
Now, we’ll set up the workflow that will handle the API call and display the results once the user clicks the Submit button.
4.1: Setting Up the Submit Button Workflow
- Navigate to the Workflows tab and create a new workflow that is triggered when the Submit button is clicked.
- The first step of this workflow will be to make the API call. Choose the API call you configured earlier (e.g., SSWeb API).
- Map the input fields to the dynamic values in the API call body:
- Input1 should take the value from the Input1 field on the UI.
- Input2 should take the value from the Input2 field.
- Table1 should take the value from the Table1 field.

4.2: Displaying the API Output
Once the API call is complete, we’ll need to display the returned values:
- Set the Output1 text element to display Result of step 1 (SSWeb API - API) → response → Output1.
- Set Output2 to Result of step 1 → response → Output2.
- If Table2 returns a list, use the Repeating Group to dynamically display Result of step 1 → response → Table2.

Step 5: Testing the Implementation
After configuring the UI and workflows, it’s time to test the application:
- Go to Preview mode in Bubble.io to test your app.
- Enter values in the Input1, Input2, and Table1 fields.
- Click the Submit button and verify that the API is called and the results are displayed in the appropriate output fields.
If everything is set up correctly, you should see the outputs populate with the values returned from the API.
Example API Request and Response
Here is an example of an API call request and the expected response based on dynamic user inputs.
Example Request Body:
{
    "workspaceId": "ec1409ff-0729-4ed2-940a-2ff6b08f1c31",
    "applicationId": "0451885c-d378-48c6-b5b6-46d9fa775ed6",
    "inputs": {
        "Input1": "50",
        "Input2": "75",
         "Table2": [
                     {"Name": "John", "Age": 30},
                     {"Name": "Doe", "Age": 25}
                   ]
    },
    "outputs": ["Output1", "Output2", "Table2"]
}
Example Response:
{
    "Output1": "150",
    "Output2": "225",
    "Table2": [
        {"Name": "John", "Age": 30},
        {"Name": "Doe", "Age": 25}
    ]
}
In this example, the values for Input1 and Input2 are used to compute results, and the table returns a list of names and ages.
Conclusion
This detailed guide walks you through the process of integrating SpreadsheetWeb API with Bubble.io. By following these steps, you can create a dynamic, data-driven application that allows users to input values, trigger API calls, and display the results in real-time. You also learned how to handle potential errors and improve the user experience through advanced features like loading indicators and input validation.
This setup provides a powerful foundation for building more complex applications that involve spreadsheet calculations. If you run into any issues during the setup process, feel free to consult Bubble.io or SpreadsheetWeb’s documentation for further support.
With the skills learned in this guide, you’re now ready to create interactive, dynamic applications with Bubble.io and SpreadsheetWeb.