In today’s world of workflow automation, leveraging external APIs to handle complex calculations and business logic is a vital part of streamlining business processes. With n8n, an open-source workflow automation tool, and SpreadsheetWeb’s powerful calculation API, users can seamlessly integrate Excel-based calculations into their automated workflows. This guide will walk you through setting up a project in n8n, adding variables, importing cURL requests, and managing dynamic inputs.

Transforming Your Excel File into an API with SpreadsheetWeb
Before Diving into n8n Integration: Setting Up Your Excel File as an API
Before diving into the technical details of integrating the SpreadsheetWeb API with n8n, it’s essential to understand the core component: your Excel file. This file forms the foundation of your API as it contains the input fields, calculations, and output results that the API will use.
For the purpose of this guide, let’s assume you have an Excel file structured as follows:
- Three individual input fields: originZIP, destinationZIP, and weight.
- An output field: cost, which is generated based on the input values through pre-configured Excel formulas.
Essentially, this Excel file acts like a standard spreadsheet calculator. Once it is transformed into an API, it will allow you to programmatically submit inputs and retrieve calculated results—just as if you were using the Excel file manually.
Uploading Your Excel File to SpreadsheetWeb Hub
To convert your Excel file into an API, you’ll need to upload it to the SpreadsheetWeb Hub. The Hub lets you create an application based on your Excel file, effectively turning it into a web-based API. During this process, your Excel formulas and calculations are converted into a format that can be accessed programmatically via API calls.
Upon uploading, you’ll receive essential details that are critical for making API requests from n8n. These include:
- API Endpoint URL: The unique URL where your API requests will be directed.
- Workspace ID: The identifier for your workspace within SpreadsheetWeb.
- Application ID: The specific ID associated with your application (i.e., your Excel file).
- Authentication settings (if applicable): Whether your API requires token-based authentication or not.
These details will be crucial when configuring your HTTP requests in n8n to interact with the API effectively.
For a comprehensive guide on creating an API from a SpreadsheetWeb application, refer to the documentation provided by SpreadsheetWeb. The documentation will walk you through each step of the process, ensuring that your Excel file is successfully converted into an API.

SpreadsheetWeb API Authentication Options
When setting up the API, you have two main authentication options:
- Token-Based Authentication: This is the more secure option and requires sending a Bearer token in the request headers to authenticate and authorize API calls. It ensures that only authorized users have access to the API.
- No Authentication: This simpler option is often used during development or internal testing phases where security is not a primary concern.
For this guide, we will use the No Authentication option to keep the setup straightforward when integrating with n8n. By skipping authentication, you won’t need to configure authorization headers, simplifying the integration process. However, for production environments, we strongly recommend enabling token-based authentication to protect your API from unauthorized access.
If your use case requires additional security, you can enable token-based authentication through SpreadsheetWeb. When using this option, you will need to set up n8n to include the Bearer token in the Authorization header of your HTTP request, ensuring that your API calls are authenticated.
By transforming your Excel file into an API and setting up the appropriate authentication, you’ve laid the groundwork for integrating with n8n. Now, let’s move on to the next steps of configuring your workflow in n8n.
Step 1: Setting Up Your n8n Project
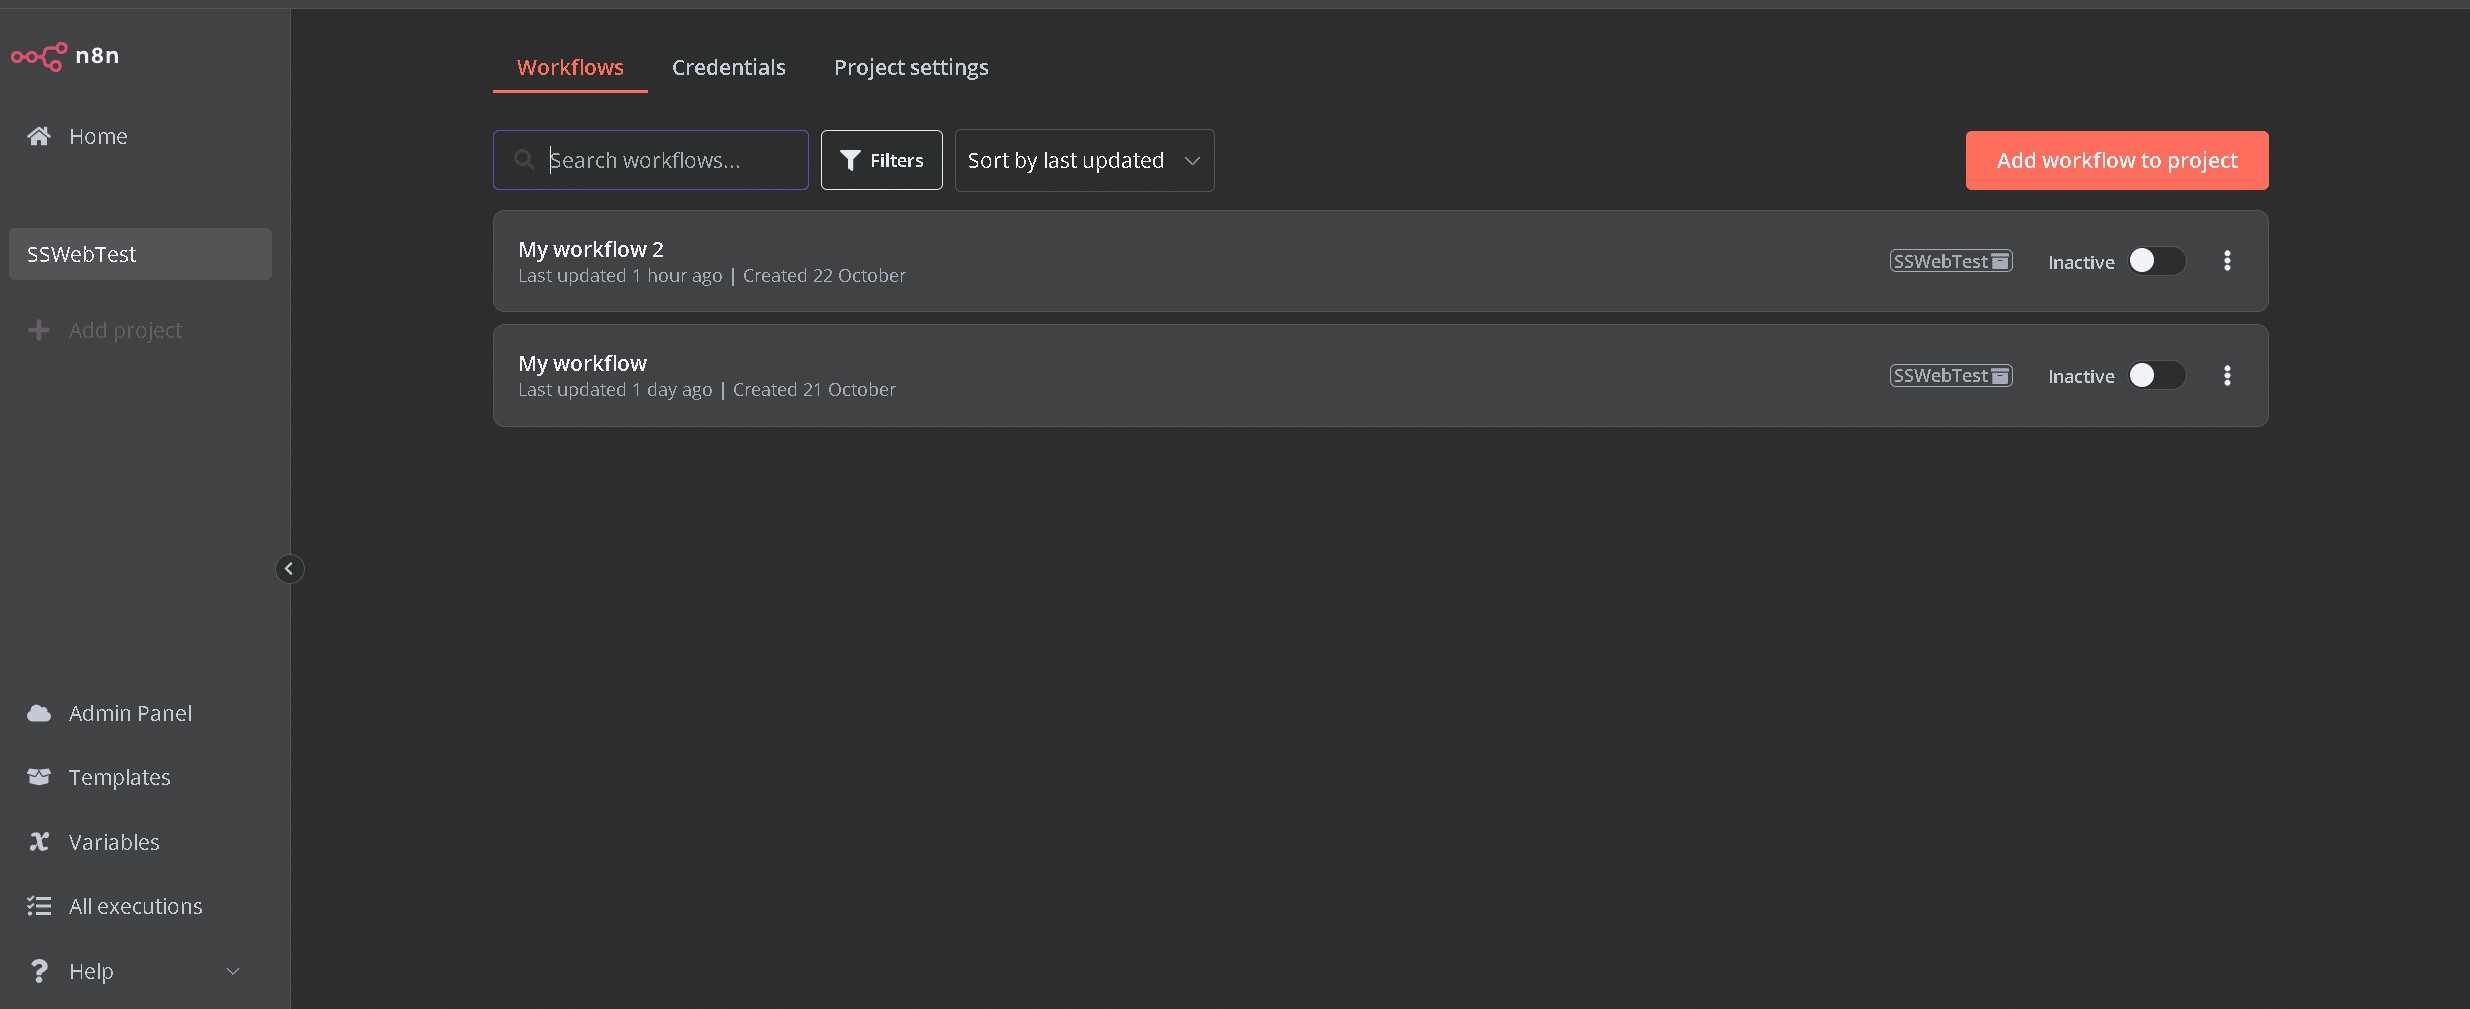
To get started, log in to your n8n platform and create a new project. Once inside your project, the first step is to create a workflow. Click on ‘New Workflow’ and give it a descriptive name that reflects the purpose of the automation.
Step 2: Defining Input Variables
The initial step in our workflow involves defining the necessary input fields that will be sent to the SpreadsheetWeb API. For this, we’ll add an ‘Edit Fields’ node. Here’s a breakdown of this step:
- Add an ‘Edit Fields’ Node to your workflow. This node allows you to create variables that will be used in the API request.
- Define the variables you will be using for your API call as text fields. For instance, if your API requires originZIP, destinationZIP, and weight, create each of these as a separate text variable:
- originZIP
- destinationZIP
- weight
- Ensure these variables are stored in a text format since the API requires inputs to be strings.

Step 3: Importing the API Request as a cURL File
To facilitate the API integration, you’ll need to import a cURL file that matches the API’s requirements. Follow these steps:
- Visit the SpreadsheetWeb API Documentation at https://api.spreadsheetweb.com.
- Navigate to the ‘simple calculatesinglesimple’ path. This API endpoint handles basic calculations.
- Click ‘Try it out’ and input some sample data to execute the request. Once executed, you’ll obtain a cURL structure for the API call.

- Copy this cURL structure, and in n8n, select the ‘HTTP Request’ node. Here, click on ‘Import cURL’ and paste the copied cURL request.

The basic cURL should resemble this structure:
curl -X 'POST' \

  'https://api.spreadsheetweb.com/calculations/calculatesinglesimple' \

  -H 'accept: application/json' \

  -H 'Content-Type: application/json' \

  -d '{

  "request": {

    "applicationId": "3fa85f64-5717-4562-b3fc-2c963f66afa6",

    "workspaceId": "3fa85f64-5717-4562-b3fc-2c963f66afa6",

    "inputs": {

      "originZIP": "{{ $json.originZIP }}",

      "destinationZIP": "{{ $json.destinationZIP }}",

      "weight": "{{ $json.weight }}"

    },

    "outputs": [

      "cost"

    ]

  }

}'

Step 4: Configuring the HTTP Request Node in n8n
Now that the cURL request has been imported, it’s time to configure it to match your specific application details:
- In the ‘HTTP Request’ node, review the imported cURL data.
- Adjust the following key parameters to match your application details:
- Application ID
- Workspace ID
- For the input fields (originZIP, destinationZIP, and weight), use n8n’s drag-and-drop feature to map the variables you defined in the ‘Edit Fields’ node to the request body. This step dynamically connects your workflow inputs with the API request.
Step 5: Handling the API Response
After successfully configuring the API call, you’ll want to handle and decipher the returned data:
- Add another ‘Edit Fields’ node to your workflow, following the HTTP request node. This node will capture the output from the API call.
- Create a new text variable named something like calculatedCost. This variable will store the deciphered output from the API response.
- Map the calculatedCost variable to the corresponding key in the API response using drag-and-drop. This step will allow n8n to automatically extract and save the output value from the API call into your workflow.

Conclusion
By following these detailed steps, you’ve successfully integrated SpreadsheetWeb’s calculation API into your n8n workflow. This integration allows you to automate complex Excel-based calculations and leverage n8n’s flexible workflow builder to dynamically pass inputs and process outputs.
With these steps, you should be able to build comprehensive automated workflows that seamlessly integrate Excel-based calculations.