
Modern SaaS businesses and data-driven applications often require seamless automation from user registration to dynamic permission-based access. In this guide, we will walk through the complete process of building a subscription-based system where users can subscribe to different plans via WooCommerce and Stripe, and gain appropriate access to SpreadsheetWeb applications—automatically—using Zapier.
This integration combines SpreadsheetWeb with three powerful platforms:
- WooCommerce: The eCommerce backbone of your WordPress website
- Stripe: The secure and flexible payment gateway
- Zapier: The automation glue that ties everything together
Let’s explore how this can be configured from scratch.
Step 1: Setting Up WooCommerce with Stripe on WordPress
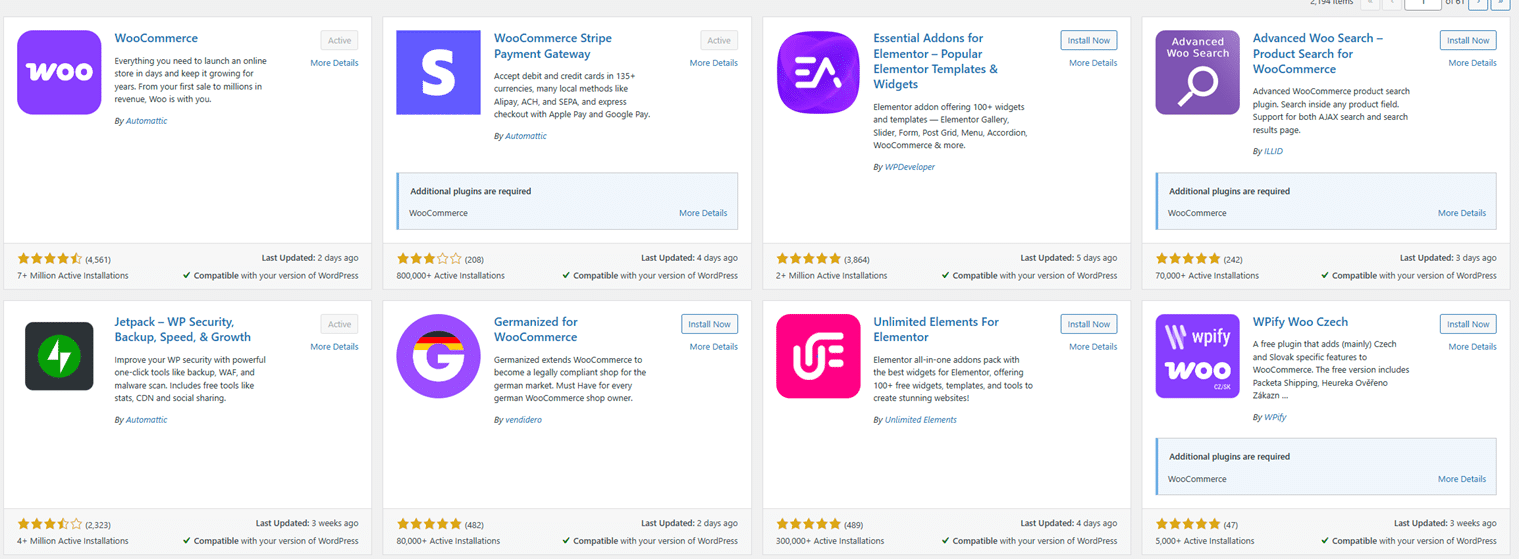
To begin, your website must be built on WordPress with WooCommerce installed as the eCommerce framework. Once WooCommerce is installed and activated, navigate to WooCommerce > Settings in the WordPress admin dashboard. From there, select the Payments tab.
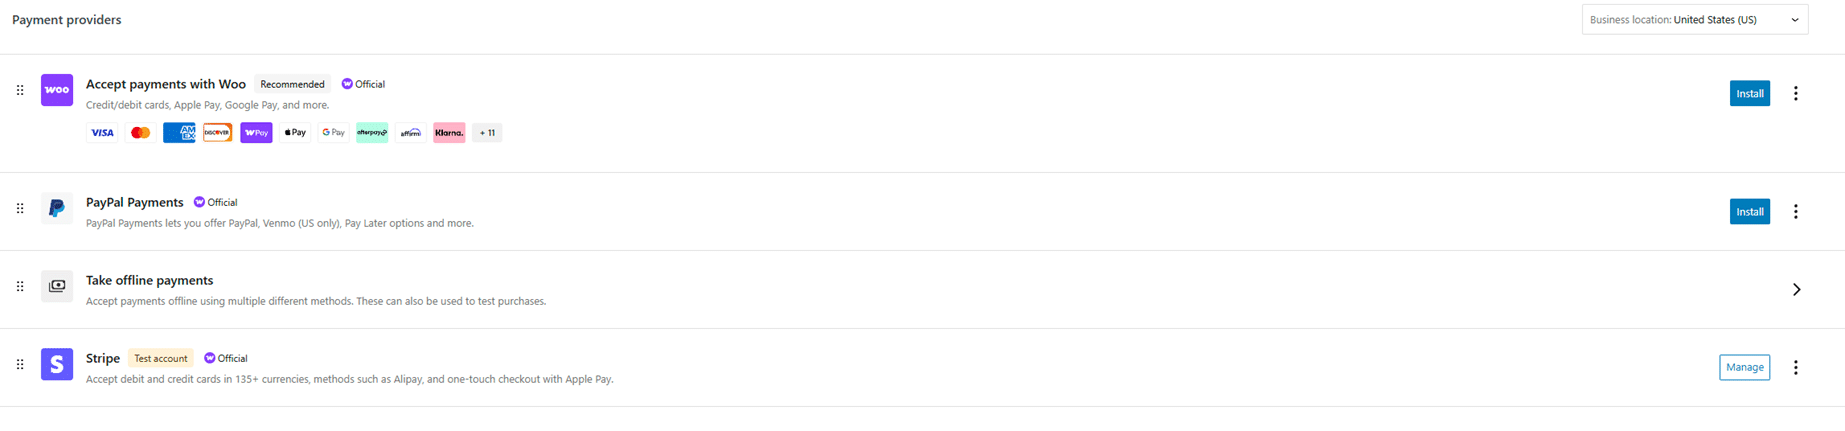
To enable Stripe-based payments, you’ll need to install the Stripe Gateway plugin. After activating this plugin, return to the Payments tab and click Manage under Stripe.

If you’re in development or staging mode, it is essential to enable test mode. Within the Stripe settings, toggle Enable Stripe and Enable test mode to ON. This allows you to simulate transactions and ensure everything works before going live.
Stripe will also require your API keys, which you can obtain from your Stripe Dashboard. Be sure to use the Test keys for sandbox environments and Live keys for production.
Step 2: Installing the Subscription Plugin (YITH Method)
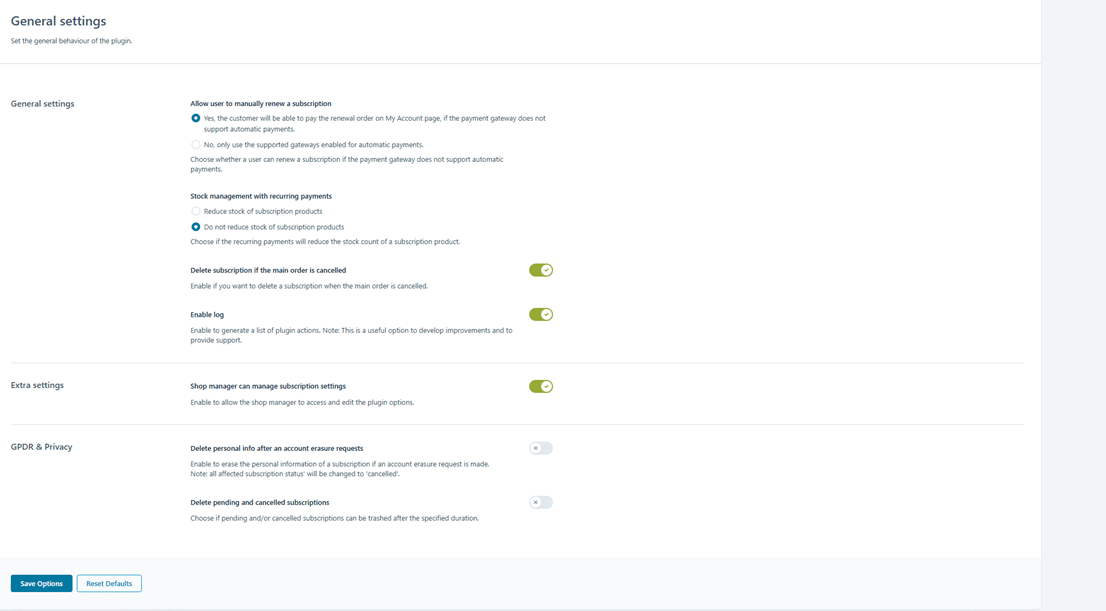
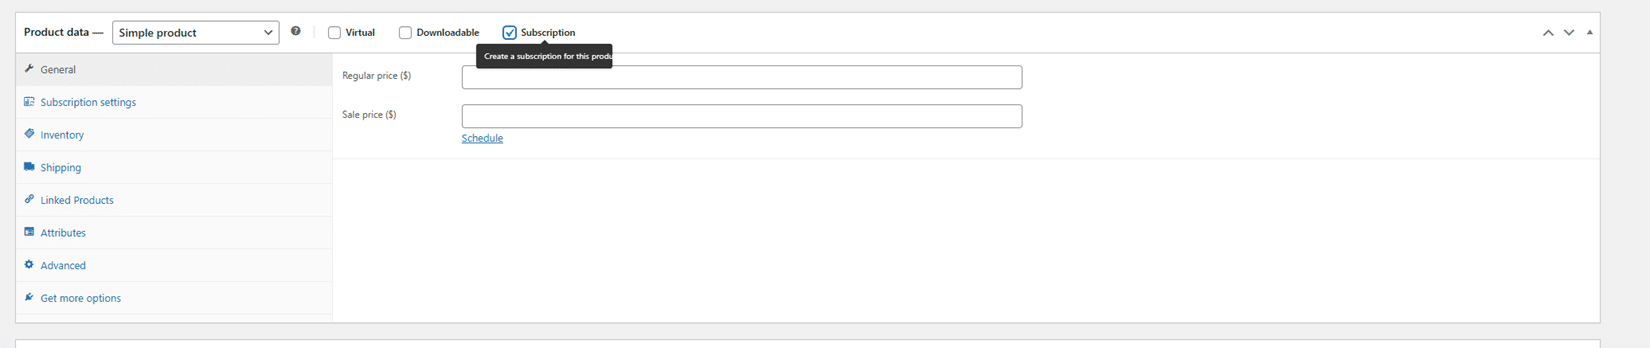
WooCommerce does not natively support subscriptions out-of-the-box unless you purchase their official WooCommerce Subscriptions plugin. While this is the most stable and recommended method for long-term businesses, a popular alternative is the YITH WooCommerce Subscription plugin.
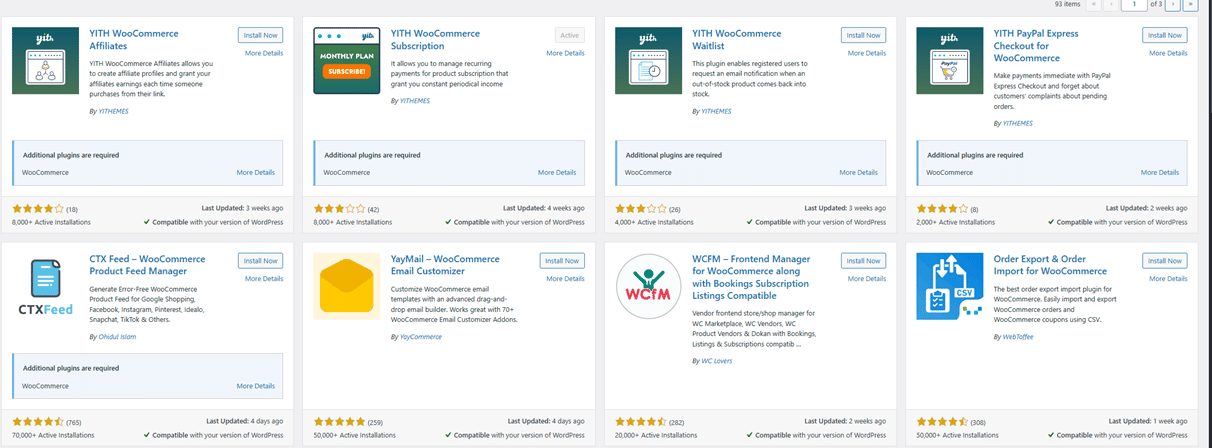
After installing and activating the YITH plugin, navigate to Products > Add New to create a subscription-based product. Thanks to the YITH integration, a Subscription Options section will appear in the product settings.
In this section, you can define:
- The renewal frequency (e.g., monthly, annually)
- Free trial duration
- Price and signup fee
- Whether the subscription should auto-renew
Create multiple plans such as Basic, Pro, and Enterprise to offer different levels of access.
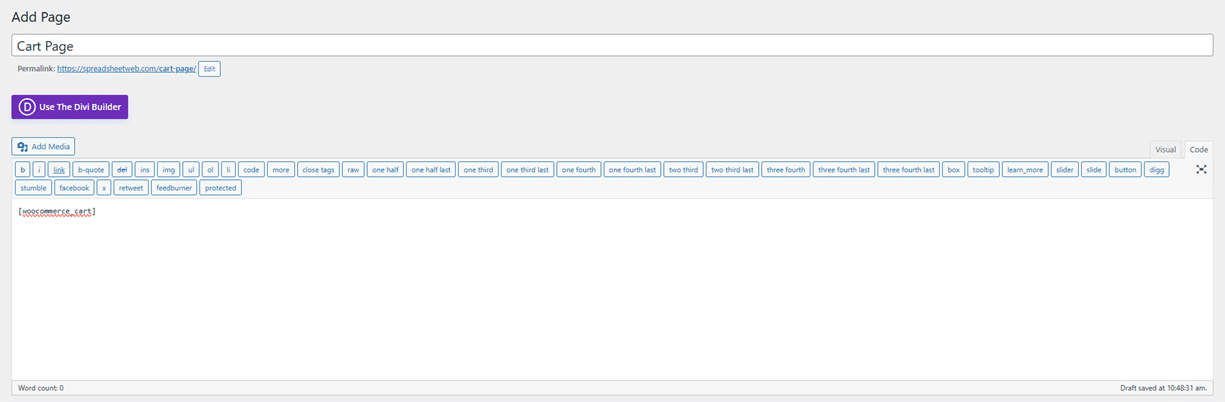
WooCommerce automatically creates core pages like Cart, Checkout, and My Account, but sometimes plugin conflicts or JavaScript issues may break these pages. If any of these pages fail to load, go to Pages > Add New, and insert the following shortcodes:
-
[woocommerce_cart]
for the cart page
-
[woocommerce_checkout]
for the checkout page
-
[woocommerce_my_account]
for the user account page
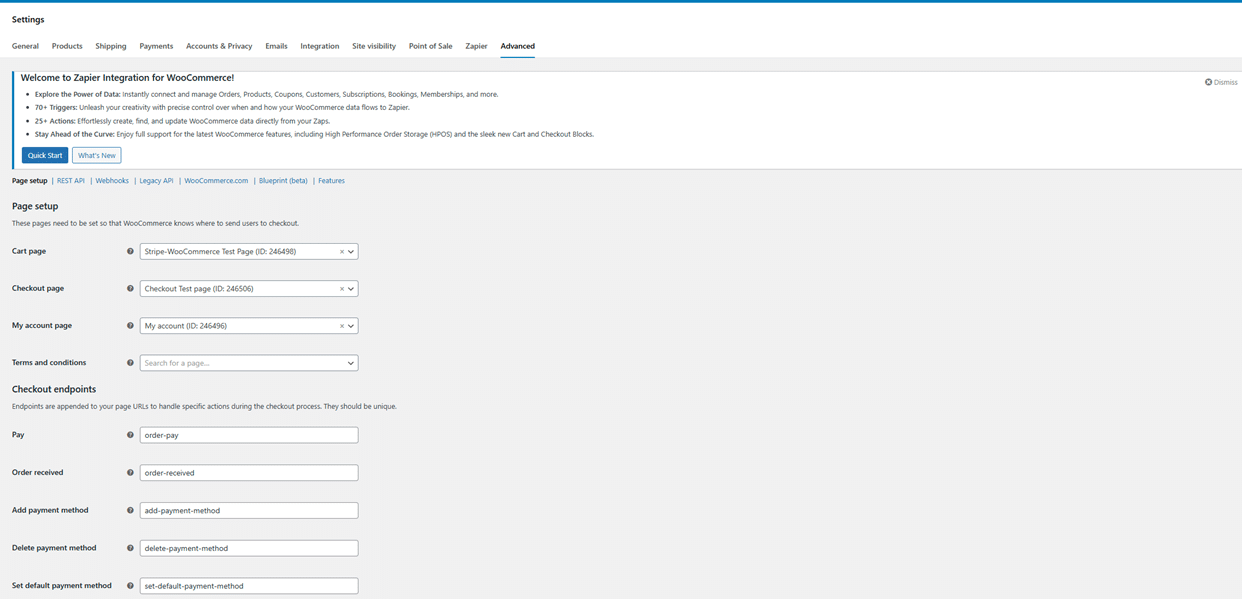
Then go to WooCommerce > Settings > Advanced and assign these custom pages to the appropriate endpoints.
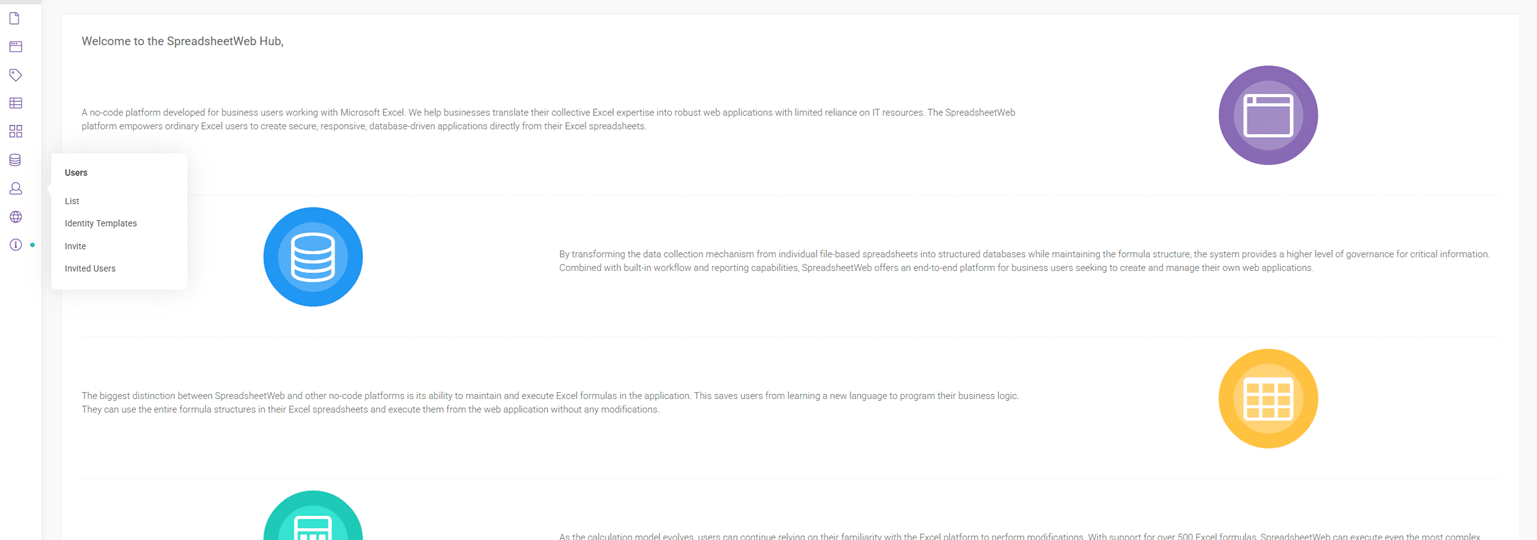
Step 3: Creating Identity Templates in SpreadsheetWeb Hub
To control application access after a subscription is purchased, we must configure identity templates in SpreadsheetWeb Hub. Log in to your SpreadsheetWeb Hub account, and from the left sidebar, select Users > Identity Templates.
Identity templates define the roles and permissions assigned to users. For example:
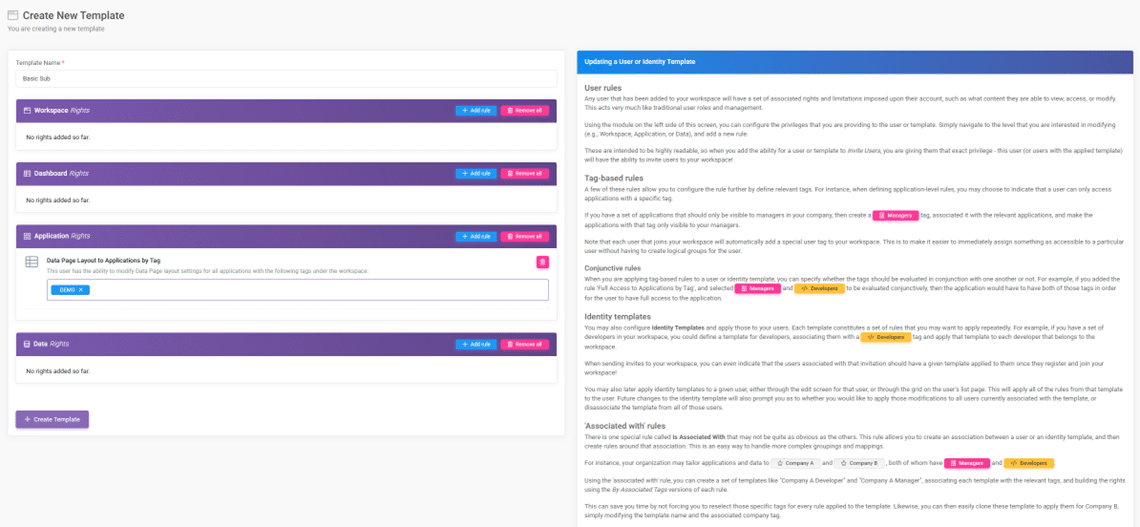
- Basic Template may only allow access to a single application
- Pro Template may allow access to advanced modules
- Enterprise Template could give access to interactive dashboards or games
These templates are later referenced when inviting users through Zapier and can restrict or allow application access on a per-subscription basis.
You may create multiple templates with specific Workspace, Application, and Role settings to match each subscription tier from WooCommerce.
Step 4: Automating User Access with Zapier
Once WooCommerce and SpreadsheetWeb are configured, we move on to the final piece: automation with Zapier.
Connecting WooCommerce to Zapier
Before you can use WooCommerce as a trigger in Zapier, you must purchase and install the Zapier Integration plugin for WooCommerce from WooCommerce.com. Without this premium plugin, WooCommerce will not appear as a trigger app in Zapier.
After the plugin is installed and your Zapier API key is configured in WooCommerce settings, you can begin building your automation workflow.
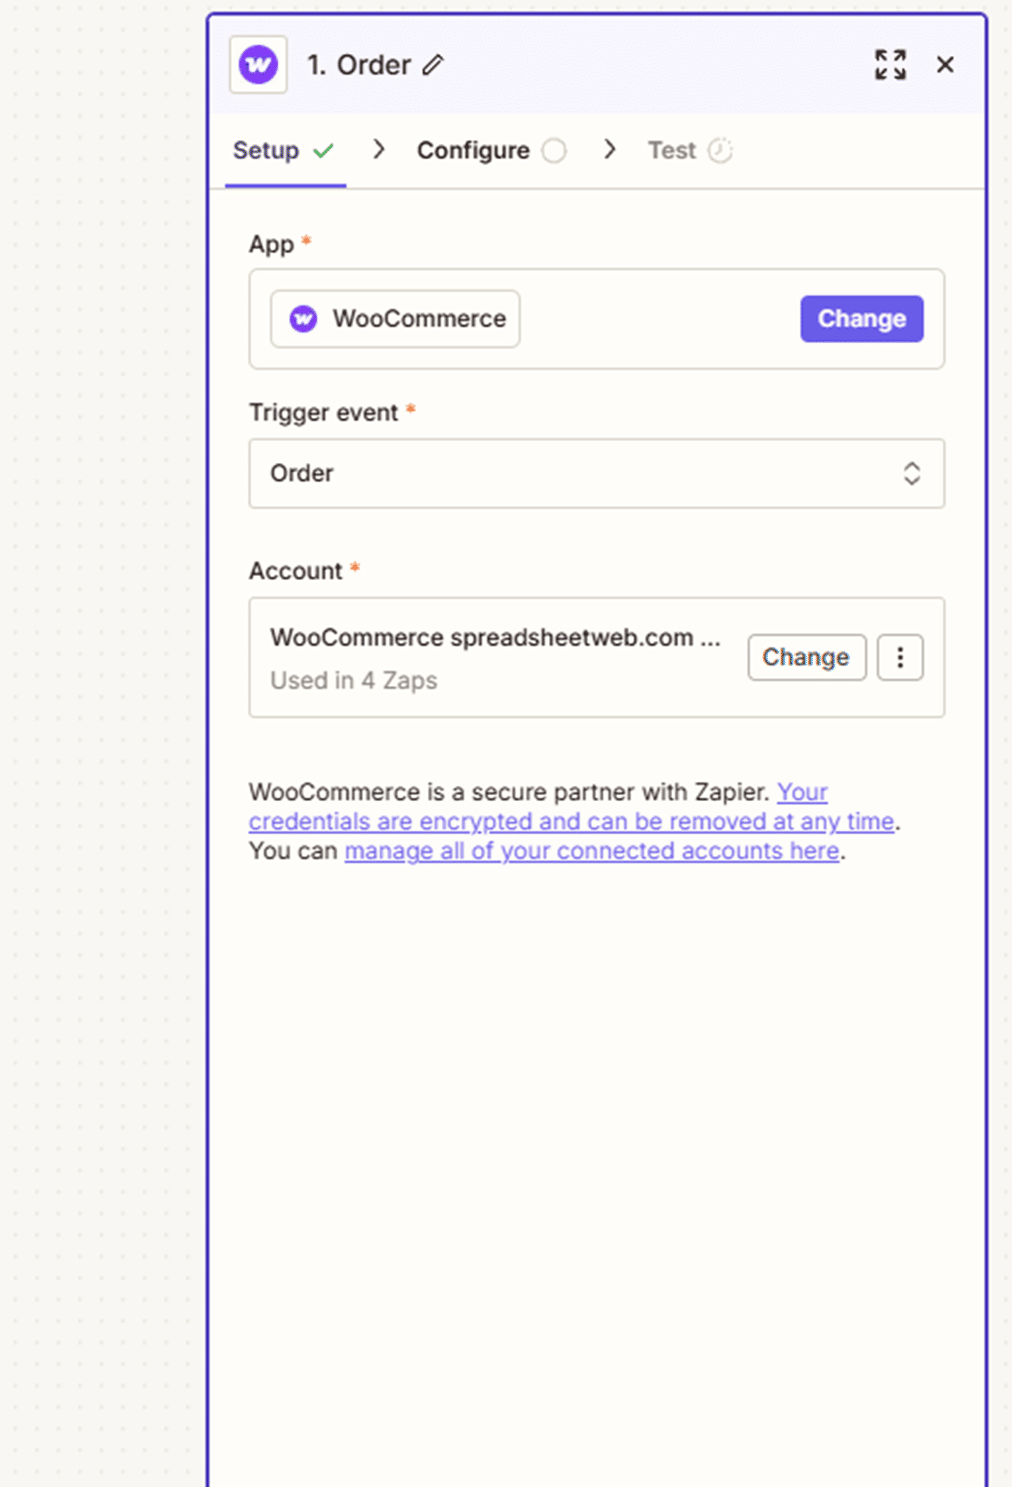
Creating the Zap
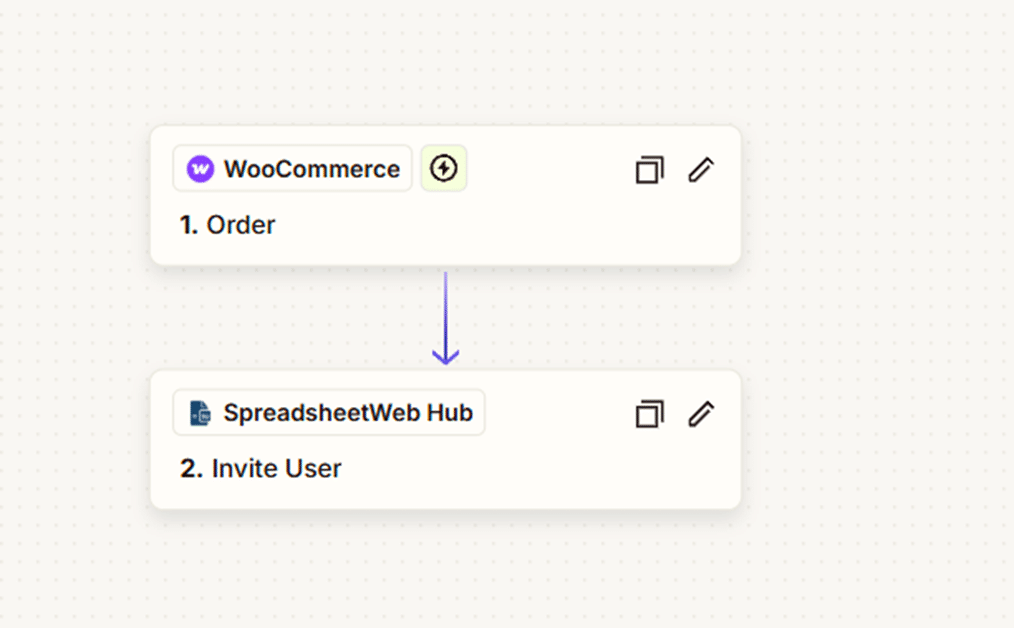
Create a new Zap and set the trigger event as New Order in WooCommerce. This trigger will fire whenever a new subscription product is purchased.

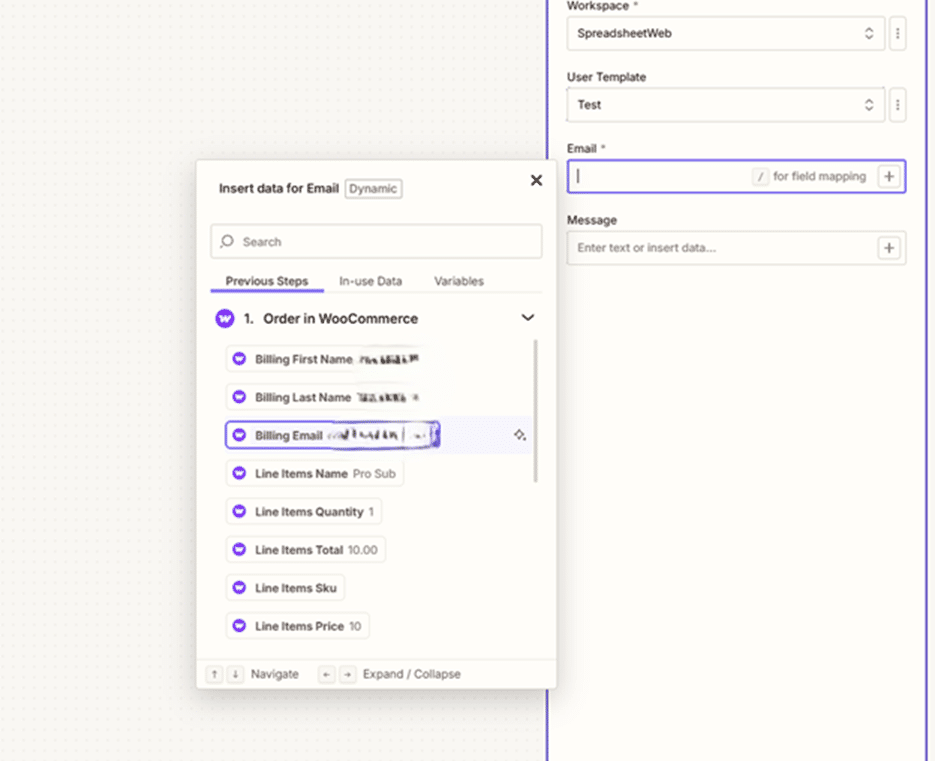
In the next step of your Zap, select SpreadsheetWeb as the action app. Choose the action Invite User to Application. If you haven’t already connected your SpreadsheetWeb account to Zapier, you’ll be prompted to do so using your API credentials.

Within this action, you’ll need to:
- Choose the appropriate Workspace
- Select the Application (if applicable)
- Match the Identity Template to the purchased subscription plan
- Provide the user's email address (from WooCommerce order data)
To dynamically assign the correct identity template, you can add a Filter or Paths step in Zapier. This allows you to set up conditions such as:
- If product name is "Pro Plan", use the "Pro" identity template
- If product name is "Enterprise Plan", use the "Enterprise" template
Once the Zap is published, any new subscription purchase in WooCommerce will automatically invite the customer to SpreadsheetWeb Hub with the correct access.
Step 5: The User Experience
Once invited, the customer will receive an automated email from SpreadsheetWeb containing an invitation link. Upon clicking, they’ll be prompted to create a user account on the Hub. After registration, access to the assigned workspace and applications will be granted immediately based on the identity template applied.
From the user’s perspective, the entire process feels seamless:
- They purchase a subscription on your site
- Receive an email invitation within seconds
- Create an account
- Start using the SpreadsheetWeb application tied to their subscription level
No manual intervention is needed.
Advanced Customizations and Considerations
This setup can be further expanded depending on your needs:
- Payment Webhooks: Add Stripe webhook handling for subscription cancellations or renewals, and use Zapier to revoke or extend access in SpreadsheetWeb.
- Free Trials: If your WooCommerce subscription includes trial periods, Zapier paths can delay SpreadsheetWeb invitations using tools like Delay by Zapier.
- CRM Integration: Integrate a CRM such as HubSpot or Salesforce to track user activity and link SpreadsheetWeb access with sales pipelines.
- Dynamic Reporting: Use SpreadsheetWeb’s API capabilities to log user actions or pull real-time analytics based on application usage.
- SpreadsheetWeb User Seats: Make sure your SpreadsheetWeb subscription includes a sufficient number of named user accounts. If you exceed the available seats, the automation will display a notification when attempting a new registration.
Conclusion
By combining WooCommerce, Stripe, SpreadsheetWeb, and Zapier, you can fully automate the lifecycle of a subscription, from payment to application access, without any manual backend operations. This integration creates a scalable and reliable system that can handle thousands of users while providing personalized access control.
Whether you’re offering a calculator, dashboard, business application, or data collection form built in Excel, this architecture ensures your product is protected, monetized, and delivered efficiently to the right audience.
If you're ready to scale your Excel-based tools into a SaaS business, this is the system that bridges the gap between spreadsheet models and commercial success.
