SpreadsheetWEB designer applications allow using a Microsoft Word (*.DOCX) document to create export documents in PDF or Word formats. This functionality can be tied to an Action button in the application and the print process will be triggered every time the button is pressed. Any number of print processes and documents can be mapped to an Action button. Common use cases for this feature include generating quote documents, invoices, reports, or other similar applications where you'd rather give your users a nice printable document.
A Print Process consists of one or more print tasks which can produce any number of print outputs. The Print Process Designer allows for design of template-based document generation, which can then be triggered through buttons in the user interface. The system allows for the creation of separate print processes for a given application and you can assign any number of these print processes to a button.
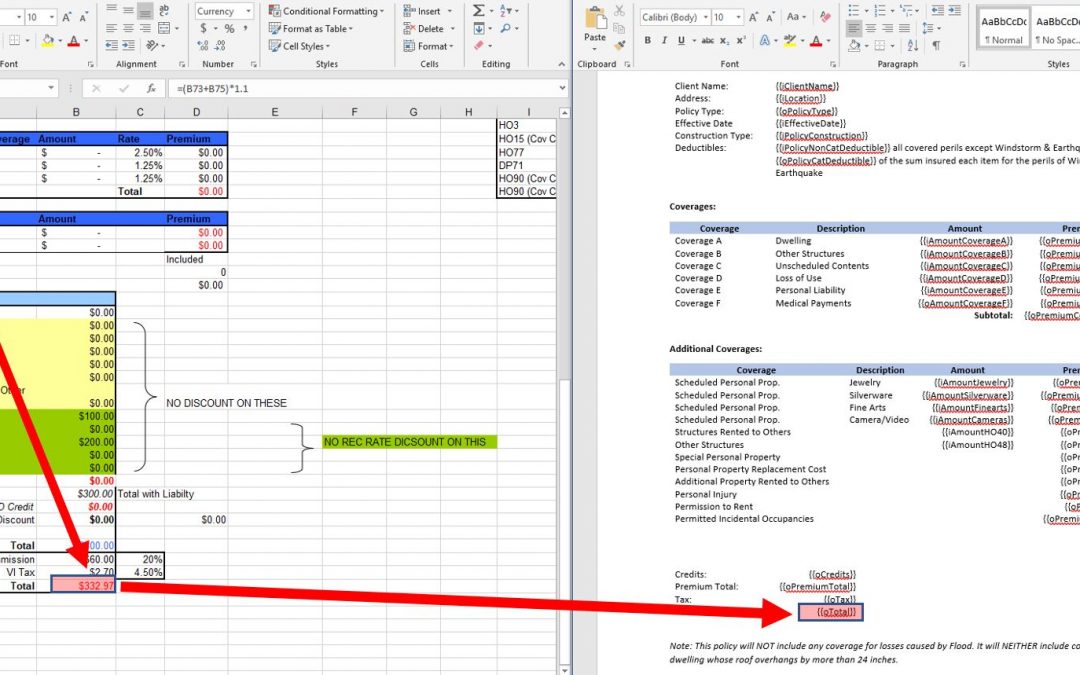
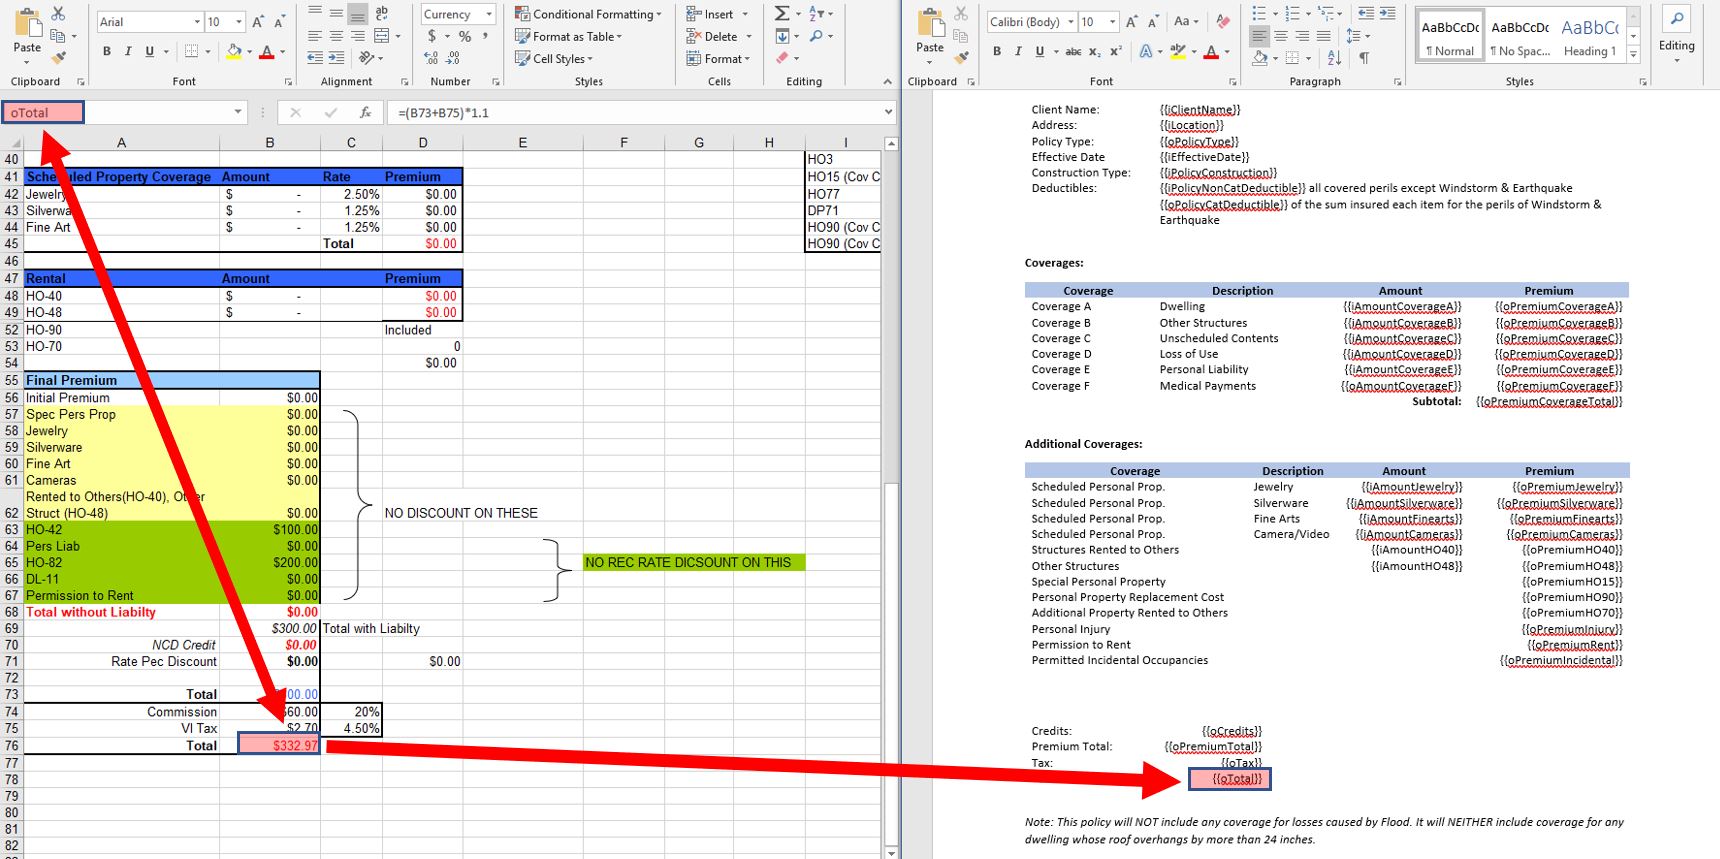
You can populate application data instead of static text in the templates. This requires you to use double curly braces and enter the range name in them (i.e. {{named range}} ). A Print Process can also be added into an email notification. Let's see how this works on an example. Here, we have an insurance quoting tool, from which a report is generated. Each named range from the Excel workbook can be mapped to a section of the Word template, as shown below. This gives you the flexibility of creating dynamic export documents that can be populated with the results of Excel calculations.
Once you have your document templates ready, you can jump onto creating a print process and use it in your application interface. To create and manage print processes, go to the Events menu in the designer interface.
On the next page, click the Print icon to go to the Print Process Designer window.
Active processes will be listed under the Print Processes section of this page. To define a new process, click the Add Print Process button. Then, give your print process a Name, select a File Name Type generation method, select from PDF or Word document types for the PrintMode and finally click the Create Print Process to save this process.
Once you have a new Print Process, you must then import your templates into this module. When you hover your mouse over the Print Process you've created, you will see Delete and Documents buttons. You can remove a print process by pressing Delete or upload your templates by going into the Documents.
All active templates will be displayed under the Documents table. To add new templates, click the Add button.
In the next screen, give your document a friendly name from the Document Name section (this name will not be displayed anywhere in the application). Then, select your template from Document File and press Create Documents to add it into the current Print Process. To learn more about the Repeating Document option, see the second part of this tutorial below.
Finally, a print action must be tied to an Action button to trigger it. To do this, go to the User Interface Designer when you're in the designer interface and select an Action button. Under the Events section of the action button, you will see the name of the print process. Click the corresponding item to that button and press Submit to save your changes.
Once your application is published, clicking the Action button will trigger the print process and give you the document template in PDF format, with the data prepopulated in place of relevant named ranges. Check out the video below for a visual representation of this process.
Creating Dynamic Tables or Multiple Pages That Are Similar (Recursive Print)
You can select from two options on the X step when uploading a new template. Single Document option will create a one page export from your template, whereas Repeating Document option will repeat your document as many times until the criteria you set is met. The Repeating Document method is especially useful for scenarios where you'd like to create similar looking pages where only certain fields differ from one page to the other, such as mass creating invitations.
Repeating Document
Instead of creating several templates that look similar to each other, you can create one recursive print process and tie the repeating logic to a table named range. This way, you will be able to create one process where the number of pages in the export are dependent on the outcome of an input or output table.
To create a repeating print process, you must have a template that contains the appropriate stubs in it that correspond to the columns of your table named range.
The document below will repeat for each row in the data input table that contains data. For example, 5 entries into the underlying table named range will result in a 5 page PDF export with the corresponding row data printed into the stubs.
The export document will look like this,
Repeating Table
The idea behind creating tables with this method is building tables that change in size, based on the number of rows that contain data. To create a recursive table, your workbook needs to have a table named range that allows more than one row of data, and a Word document that contains column headers as stubs to be used in creating the print process.
You can create a dynamic table structure by inserting a document that only consists of the headers and another document that consists of the column stubs. The header document may look like below,
Document Type option under the Edit menu should be set to Single Document. The column stubs document needs to contain the column field names to be printed, inside double curly braces. This section must be added as a separate document and the rest of the table will be generated from this second document. The table document may look like below,
The Document Type option under the Edit menu should be set to Repeating Document since this document will repeat as many times as necessary to create the dynamic table.
The final table will be drawn based on Skip Row Type selection and how many table rows contain matching data. The resulting table in the export document might look like this,
The video below demonstrates how recursive print works in designer applications.


